
| Agriculture Ministry Decree Number: | 259/Kpts/TP.240/5/2000 |
| Land Height Recommendation | - |
| Disease Resistance*: | - |
| Harvest Period (Days after Transplanting)*: | 90 - 100 Days after Planting |
| Weight per fruit*: | - |
| Harvest Potential*: | 10 - 12 ton/ hectare |
| PVT: | - |
* Note:
Disease resistance, Harvest Period, weight, and harvest potential depend on the environment and cultivation treatment.
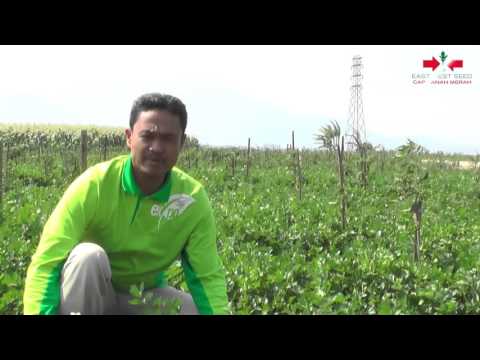
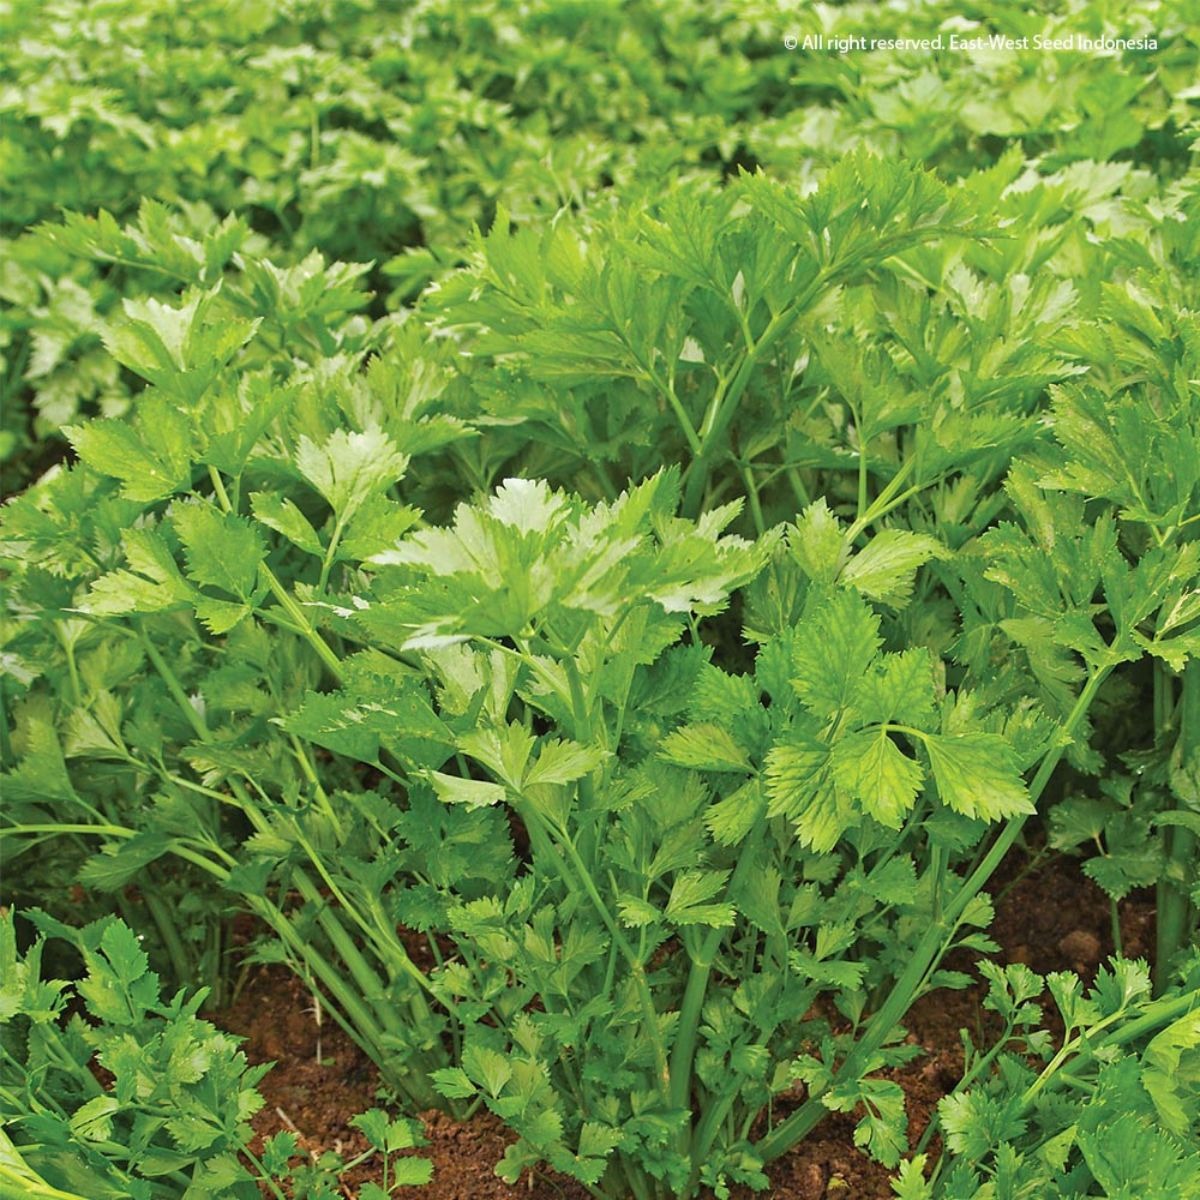
produces an abundance of offshoots, resulting in a highly productive harvest. The plants grow upright, showcasing their vitality and resilience, making them an ideal choice for cultivation in medium to high-altitude regions. Harvesting can be done by selectively picking the leaves or uprooting the entire plant, starting at 90 to 100 days after sowing.
It has potential to produce up to 10 - 12 tons/ hectare
CULTIVATION TECHNIQUES
Seedling production is crucial in the cultivation of Celery. Selecting the right and high-quality seeds is essential as it greatly influences the future yield. Celery seedlings require approximately 40 days to be ready for transplanting. The safest method for sowing celery seeds is by using seedling trays made of wooden boards measuring 60 x 100 x 10 cm.
Prepare the seedling media consisting of 2 parts soil and 1 part well-composted manure that has been finely sifted. Fill the seedling trays with the prepared seedling media until they are fully filled.
Before sowing the seeds in the Seedling Media in the Seedling Trays, soak the celery seeds for about 4-5 days. This process helps to accelerate germination. The soaking technique involves mixing 1 spoonful of celery seeds with 1 liter of finely sifted soil:composted manure (1:1) as the medium.
The soaking process can be done using plastic bags (see image 4). Alternatively, the soaking can be done directly without mixing with soil and composted manure (see image 5).
After 4-5 days of soaking, sow the seeds evenly in rows on the seedling media in the Seedling Trays. Maintain a distance of approximately 10-15 cm between the rows. Then, cover the seeds gently with fine compost and further cover them with black plastic or plastic bags (see image 7), or stack them with other seedling trays (see image 8).
At around 4-5 days after sowing (DAS), the seeds will start to germinate, and at this stage, the black plastic cover or plastic bag can be removed. If the sowing is done in an open area, it is recommended to provide shade or a roof to protect the seedlings from excessive rain or sunlight.
Water the seedlings twice a day (morning and afternoon) using a sprayer to avoid damaging the fragile seedlings.
At 30-40 DAS, the seedlings are ready to be transplanted to the cultivation field.
Land preparation steps:
FERTILIZATION Basic Celery Fertilization for 5,000 plant clumps:
Planting is done by removing 1-5 seedlings and spacing them 20 x 20 cm apart. After planting, it is advisable to water the plants until there is water pooling in the field. Planting is best done in the late afternoon.
IRRIGATION Irrigation should be done every 4 days by directing water flow from a water reservoir to the furrows and allowing it to fill until the furrows are full and the water seeps into the plant beds.
WEEDING Weeding should be done when weeds grow in the plant beds. It is advisable to do weeding together with plant fertilization after harvesting.
HARVESTING Harvesting can be done when the plants are approximately 60 days old or according to market demand (60 days for premium harvest). The harvesting method involves uprooting each clump, including the roots, and discarding any yellowed or aged leaves. Alternatively, harvesting can be done by selectively picking mature leaves/stalks.
POST-HARVEST After harvesting, wash the plants with running water to remove any soil attached to them during the harvesting process (see image 10). The Celery is then ready for marketing.
Pest and Disease Control is essential to achieve optimal results in celery cultivation. It should be done in a timely manner, with the right dosage and type of pesticides. Regular spraying with insecticides or fungicides, depending on the symptoms of infestation, is necessary to prevent pest and disease attacks.
The common disease that affects celery is Leaf Spot. This can be anticipated by applying Propineb with Azole group fungicides (such as Hexaconazole, etc.).
As for pest attacks, they are usually limited to Aphids. Control measures can be taken using insecticides containing active ingredients such as Imidacloprid, Thiamethoxam, Abamectin, etc.
We give a guarantee towards seed quality based on government regulations. The responsibility of the company is limited to the paid products not to other expenses.
Saya Mengerti